
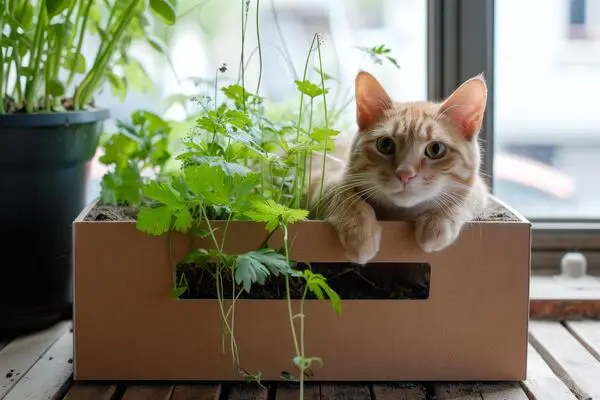
Welcome to the world of indoor cat gardens, where your feline friend’s curiosity meets the tranquility of nature. Imagine a space in your home filled with lush, green plants that are not only safe for your cat, but also enhance your living environment. In this guide, I’ll show you how to create a purrfectly friendly cat carden that both you and your kitty will adore.
Why an Indoor Cat Garden?
An indoor cat garden offers numerous benefits:
- Enrichment: Provides mental and physical stimulation for your cat.
- Air Quality: Improves indoor air quality with the right plants.
- Aesthetic appeal: Adds a touch of greenery to your home décor.
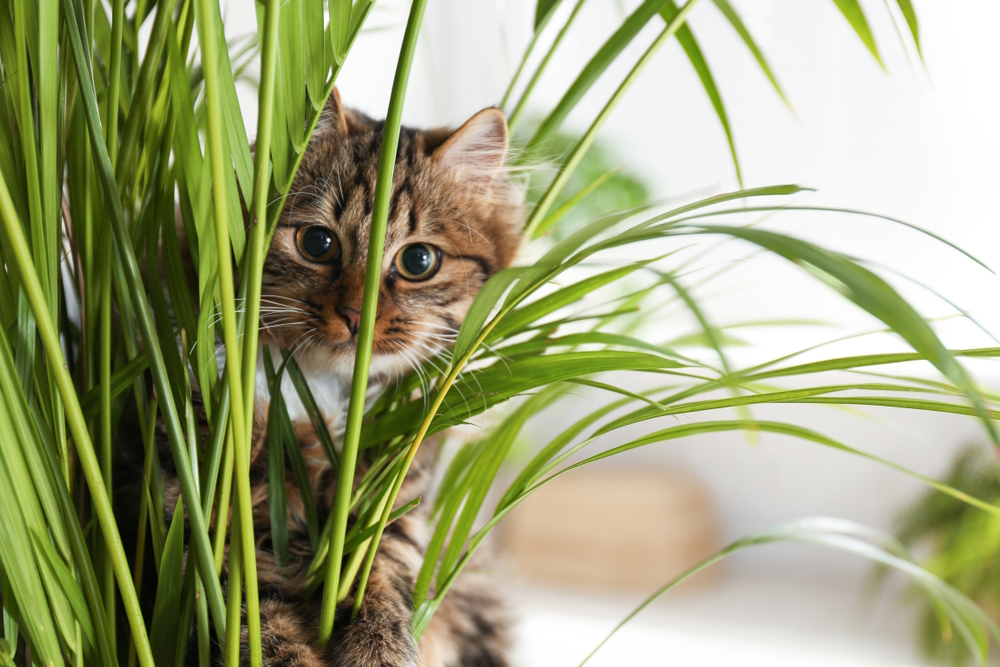
Choosing Cat-Friendly Plants
When selecting plants for your indoor cat garden, it’s crucial to choose varieties that are non-toxic to cats. Here are some safe options:
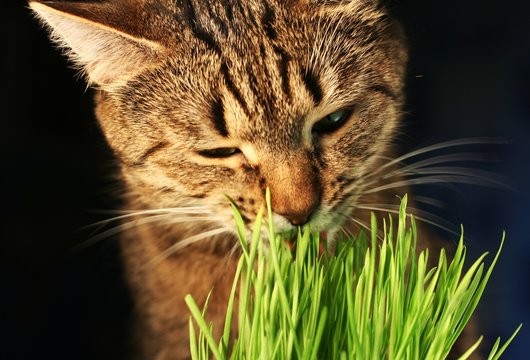
Cat Grass
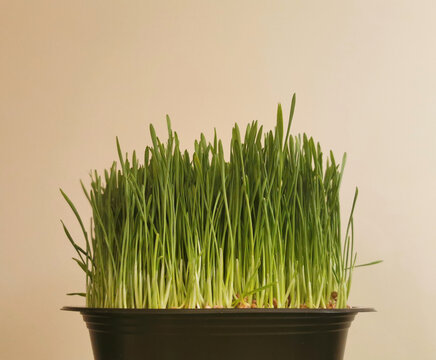
Planting cat grass is a simple and rewarding project that provides your feline friend with a safe and enjoyable green snack. Here’s a detailed step-by-step guide to help you get started.
How to plant Cat Grass: A Step-by-Step Guide
Materials Needed:
- Cat Grass Seeds: Typically a mix of wheat, barley, oats, or rye.
- Where to Purchase: Available at pet stores, like PetSmart, garden centers, like The Home Depot, or online retailers like Amazon.
- Containers: Choose sturdy, tip-proof containers.
- Types: Small pots, trays, or even decorative planters.
- Where to Purchase: Garden Centers, home improvement stores, or online stores.
- Soil: Use organic potting soil for the best results.
- Where to Purchase: Garden centers, home improvements, or online stores like Amazon.
- Watering Can or Spray Bottle: For watering the seeds and plants.
Step-by-Step Instructions:
- Prepare the Container:
- Choose a container with drainage holds to prevent waterlogging.
- Fill the container with organic potting soil, leaving about 1 inch of space at the top
- Sow the Seeds:
- Evenly scatter the cat grass seeds over the soil surface.
- Lightly press the seeds into the soil to ensure good contact, but do not bury them deeply.
- Water the Seeds:
- Gently water the seeds using a watering can or a spray bottle. Ensure the soil is moist but not waterlogged.
- Cover the container with plastic wrap or a clear lid to create a greenhouse effect, which helps with germination.
- Place the Container:
- Put the container in a warm sunny spot. Indirect of sunlight is ideal.
- Check the soil daily and keep it moist. Remove the plastic wrap once the seeds start to sprout, usually within 3-7 days.
- Care for the Grass:
- Continure to water the grass regularly, ensuring the soil remains moist.
- Once the grass reaches a few inches in height, it’s ready for your cat to enjoy.
- Maintenance:
- Trim the grass regularly to encourage new growth.
- If the grass starts to yellow or wilt, it may need more light or less water.
Additional Tips:
- Containers: Consider using decorative pots or trays that match your home decor.
- Soil: Organic potting soil is best as it’s free from harsh chemicals.
- Brands like Miracle-Gro or Rosy Soil are reliable choices.
- Seeds: Look for organic cat grass seed mixes to ensure they are safe for your cat.
By following these steps, you can easily grow a healthy and vibrant Cat Grass garden that your feline friend will love. Happy planting!
Spider Plant
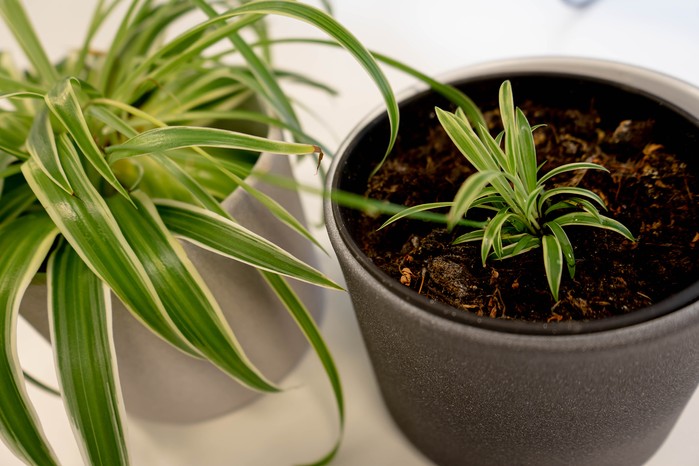
Spider plants are popular houseplants known for their easy care and air-purifying qualities. Here’s a detailed step-by-step guide to help you plant and care for your spider plant.
How to Plant and Care for a Spider Plant: A Step-by-Step Guide
Materials Needed:
- Spider Plant : You can start with a mature plant or propagate from plantlets.
- Where to Purchase: Available at garden centers, nurseries, or online retailers like Amazon.
- Containers: Choose pots with drainage holes to prevent waterlogging.
- Types: Metal, ceramic, or terracotta pots
- Plastic is not ideal since they are prone to tipping over.
- Where to Purchase: Garden Centers, home improvement stores, or online retailers.
- Types: Metal, ceramic, or terracotta pots
- Soil: Use a well-draining potting mix.
- Where to Purchase: Garden centers, home improvement stores, or online.
- Watering Can or Spray Bottle: For watering the plant.
Step-by-Step Instructions:
- Prepare the Container:
- Planting the Spider plant:
- If starting from a mature plant, gently remove it from its current pot. If propagating, cut off a plantlet from the mother plant.
- Place the plant or plantlet in the new pot, ensuring the roots are covered with soil.
- Press the soil gently around the base of the plant to secure it.
- Watering:
- Water the plant thoroughly after planting, ensuring the soil is evenly moist but not waterlogged.
- Allow the top inch of soil to dry out between waterings to prevent root rot.
- Placement:
- Place the pot in a location with bright, indirect sunlight.
- Spider plants thrive in moderate to bright light but can tolerate low light conditions.
- Avoid direct sunlight, which can scorch the leaves.
- Place the pot in a location with bright, indirect sunlight.
- Care and Maintenance:
- Watering: Keep the soil consistently moist but not soggy.
- Reduce watering in the winter months.
- Fertilizing: Feed the plant with a balanced liquid fertilizer every 4-6 weeks during the growing summer (spring and summer).
- Pruning: Trim any brown tips or dead leaves to keep the plant looking healthy.
- Watering: Keep the soil consistently moist but not soggy.
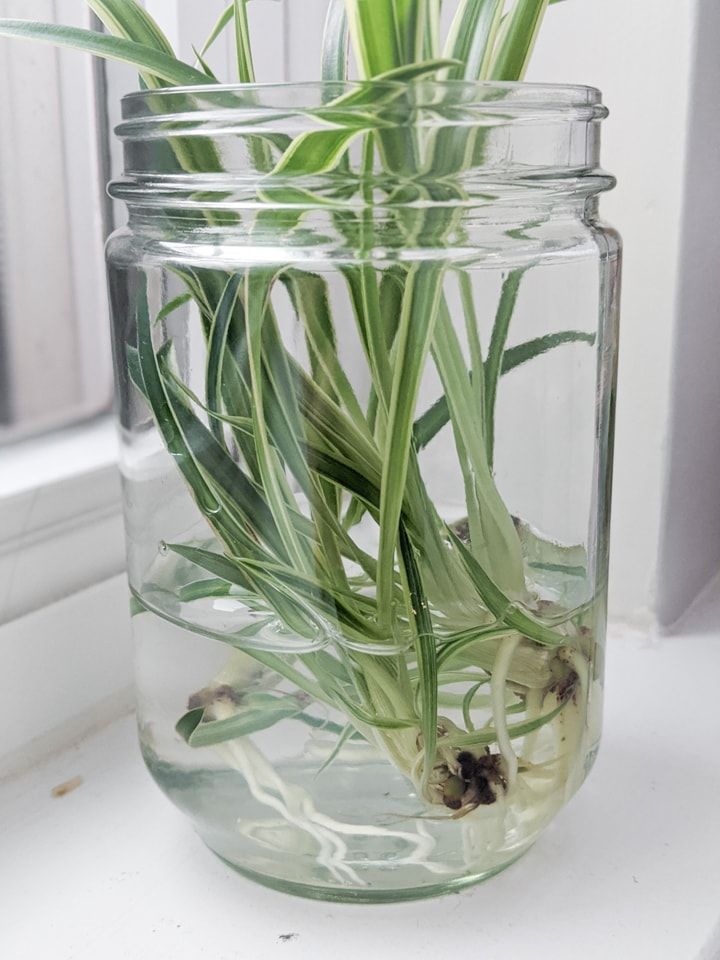
- Propagation:
- Spider plants produce plantlets, or “babies,” that can be propagated.
- To propagate, cut off a plantlet with roots and plant it in a small pot with fresh soil.
- Water the plantlet and place it in a bright, indirect light location.

Additional Tips:
- Containers: Consider using sturdy pots that are tip-proof to ensure a clean area around your indoor cat garden. Hanging baskets are also a great option for spider plants.
- Soil: A well-draining potting mix is essential. Brands like Miracle-Gro or Espoma are reliable choices.
- Light: Spider plants prefer bright, indirect light but can adapt to lower light conditions.
By following these steps, you can successfully plant and care for a spider plant, adding a touch of greenery to your home while enjoying its air-purifying benefits. Happy gardening!

Boston Fern
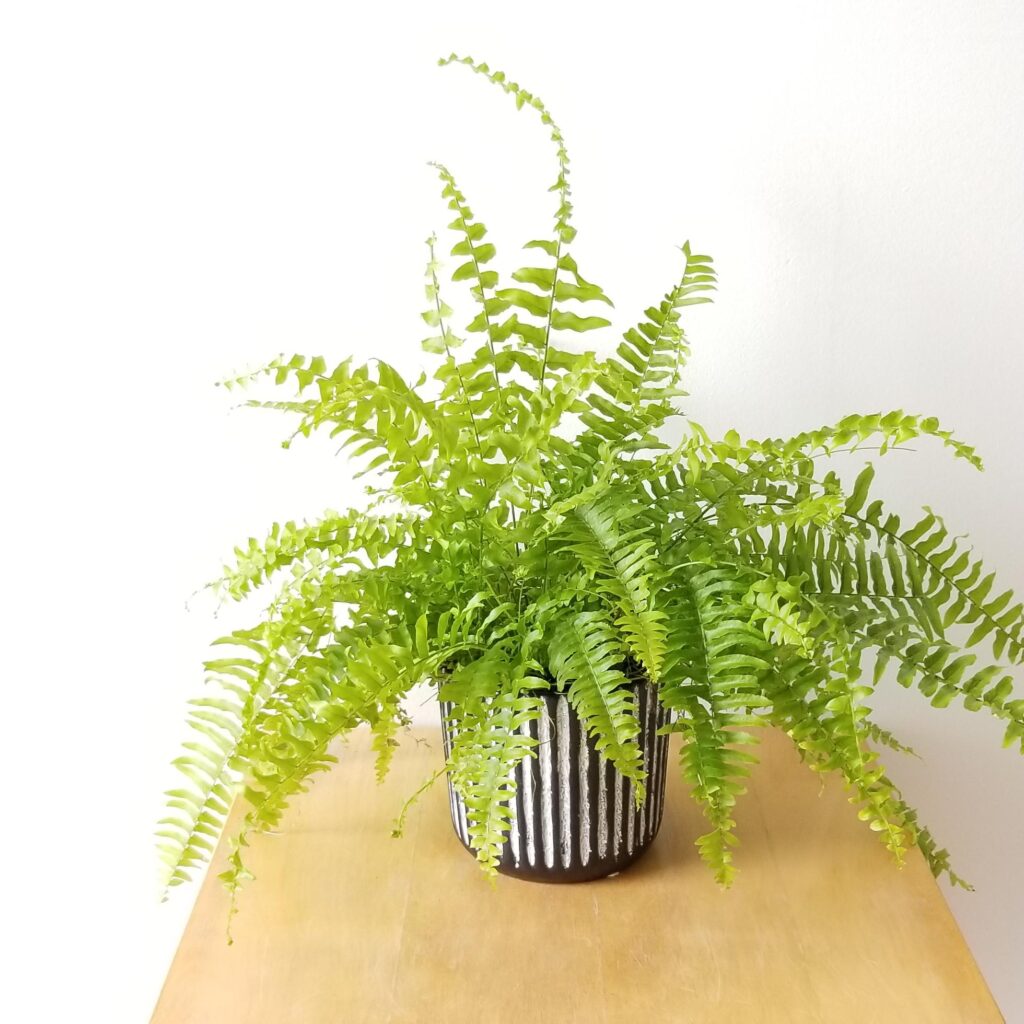
Boston ferns are beloved for their lush, feathery fronds and air-purifying qualities. Here’s a detailed step-by-step guide to help you plant and care for a Boston fern in your indoor cat garden.
How to Plant and Care for a Boston Fern: A Step-by-Step Guide
Materials Needed:
- Boston Fern: You can start with a mature plant or propagate from divisions.
- Where to Purchase: Available at garden centers, nurseries, or online retailers like Amazon.
- Containers: Choose pots with good drainage to prevent waterlogging.
- Types: Metal, ceramic, or terracotta pots.
- Where to Purchase: Garden Centers, home improvement stores, or online retailers like Amazon.
- Soil: Use a well-draining potting mix, ideally one formulated for ferns.
- Where to Purchase: Garden centers, home improvement stores, or online.
- Watering Can or Spray Bottle: For watering the plant.
Step-by-Step Instructions:
- Prepare the Container:
- Select a pot with drainage holes to ensure excess water can escape.
- Fill the pot with a well-draining potting mix, such as a mix of peat moss, pine bark, and perlite.
- Planting the Boston Fern:
- If starting from a mature plant, gently remove it from its current pot. If propagating, divide the plant into sections with roots attached.
- Place the plant or division in the new pot, ensuring the roots are covered with soil.
- Press the soil gently around the base of the plant to secure it.
- Watering:
- Water the plant thoroughly after planting, ensuring the soil is evenly moist but not waterlogged.
- Keep the soil consistently moist, but allow the top inch to dry out between waterings to prevent root rot.
- Placement:
- Place the pot in a location with bright, indirect sunlight. Boston ferns thrive in moderate to bright light but can tolerate low light conditions.
- Avoid direct sunlight, which can scorch the leaves
- Care and Maintenance:
- Watering: Keep the soil consistently moist but not soggy. Mist the fronds regularly to maintain humidity.
- Fertilizing: Feed the plant with a balanced liquid fertilizer every 4-6 weeks during the growing season (spring and summer).
- Pruning: Trim any brown tips or dead fronds to keep the plant looking healthy.
- Propagation:
- Boston ferns can be propagated by division. To do this, divide the root ball into smaller sections, each with roots and fronds.
- Plant the divisions in separate pots with fresh soil and water them well.
- Place the new plants in a bright, indirect light location and care for them as you would a mature fern.
Additional Tips
- Containers: Consider using decorative pots that complement your home decor. Hanging baskets are also a great option for Boston ferns.
- Soil: A well-draining potting mix is essential. Brands like Miracle-Gro or Espoma are reliable choices.
- Light: Boston ferns prefer bright, indirect light but can adapt to lower light conditions.
By following these steps, you can successfully plant and care for a Boston fern, adding a touch of lush greenery to your indoor cat garden. Not only will your home look more vibrant, but your feline friend will also enjoy the safe and stimulating environment. Happy gardening, and may your indoor cat garden thrive!
Creating an indoor cat garden is a rewarding project that benefits both you and your feline friend. With the right plants and setup, you can transform your home into a green oasis that your cat will love. Happy gardening!